Scroll through to look for Projects you can do at home
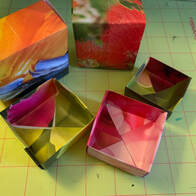
Recycle Keepsake or Gift Box
|
Need a gift box or a box to hold small items? Use a magazine page with a nice picture, an old calendar picture, a picture you create or some gift wrapping paper.
If you want a box with a bottom and lid. Create two boxes, one just slightly smaller than the other so they will fit together. Watch the video below for directions or use the images to create your own recycled box :) You can also read Paige's article on How to Make an Origami Box |
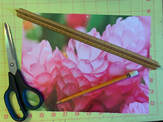
Get your supplies:
Scissors Paper Ruler Pencil or pen |
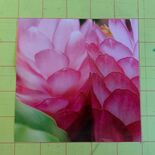
Square your paper
An 8 in. square will make a in. box.. 7 in. square will make a 2.5 in. box..so a 6 in square will make what size box? If you figure out the pattern, you can make sure your paper is the correct size to fit the items you need. |
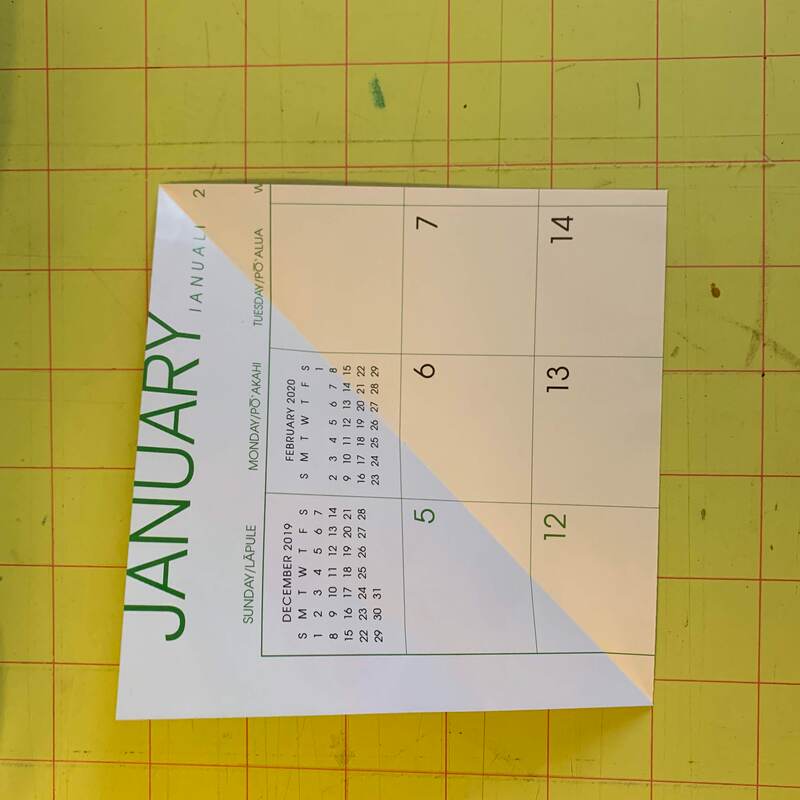
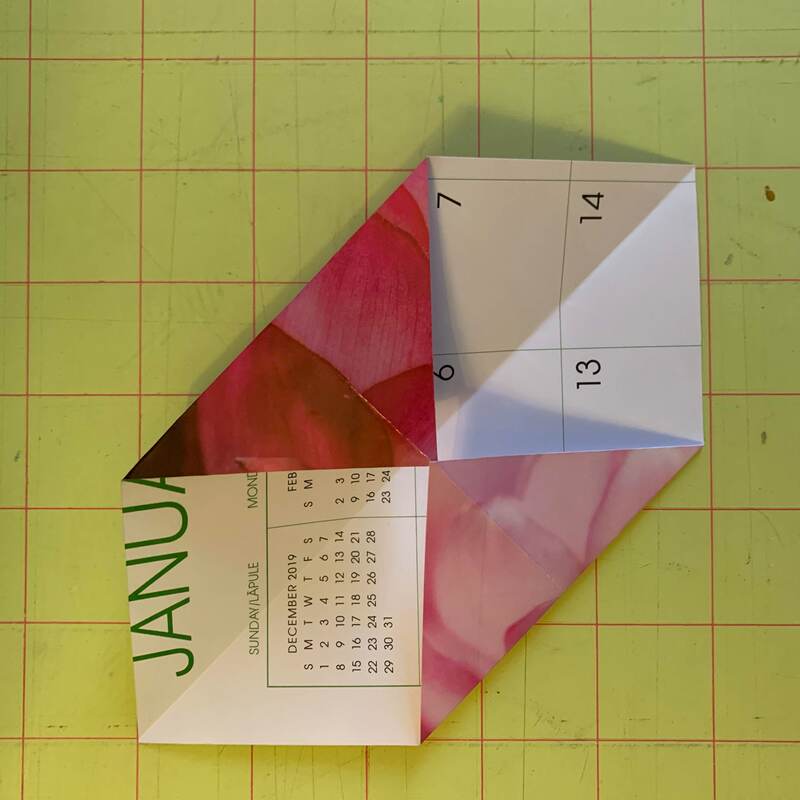
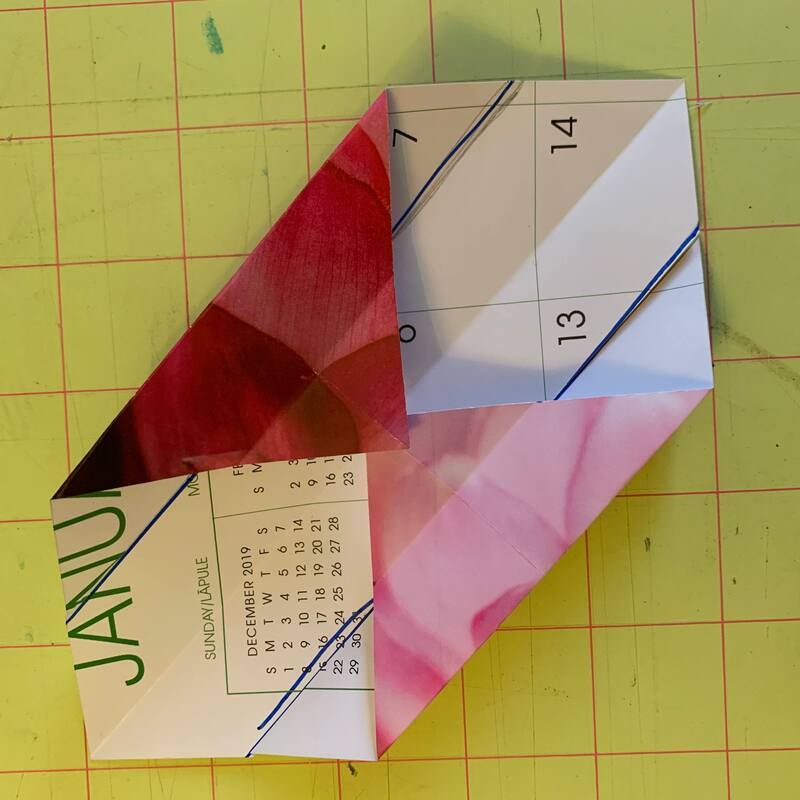
Fold the the opposite corners together. You will see a triangle. Open and fold the opposite two corners together. Open. You should see an X fold across your paper. Look at the wrong side of your paper.
Then fold two opposite corner to the center of the X. |

|
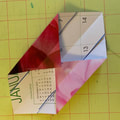
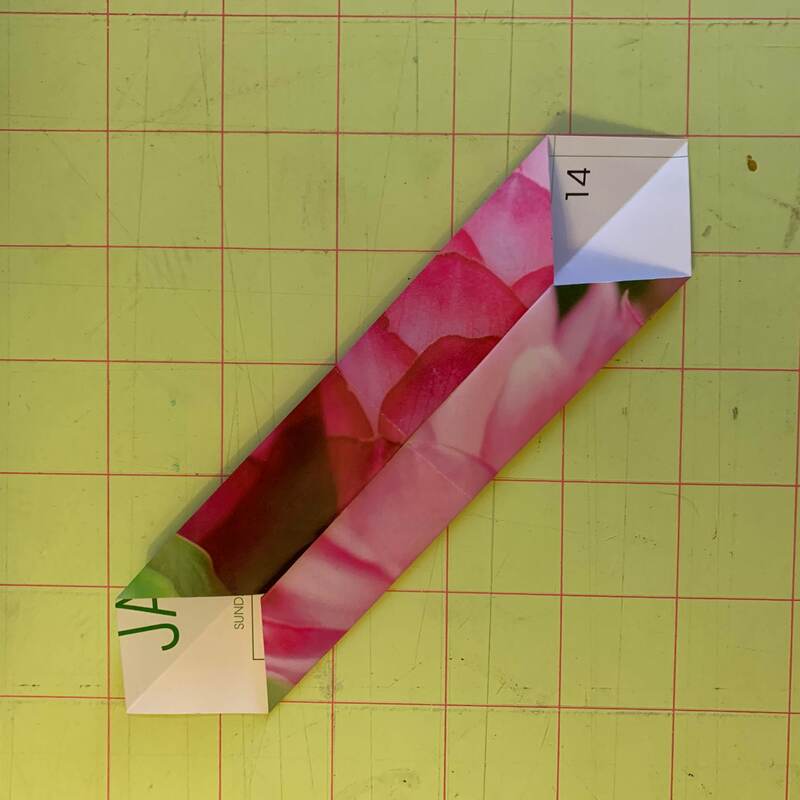
Fold the same sides in again to make the paper more narrow. Open your last two folds. You should see three parallel lines in the paper. On the first and last line, mark from the edge of the folded over paper to the edge. (You will cut these lines)
|
carefully cut your lines. Be sure to not cut all the way through the paper. Start from the edge and STOP when you read the folded over paper. You will have 4 cuts.
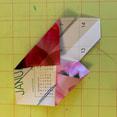
Fold each part you cut back and line it up to create a nice parallel line.
Repeat for all 4 sides. |
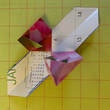
When all four sides are folded. Begin to shape your box.
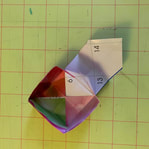
Square the sides and line them up and fold over the part that has a triangle tip. You should see the tip will fit nicely into the "missing" triangle at the bottom of the box. Repeat for the other side.
|

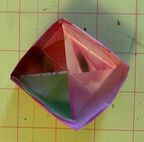
Nicely tuck and crease the edges of the box.
And that's all there is to it!
Make a bottom (or top) with a slightly larger or smaller piece of paper.
And that's all there is to it!
Make a bottom (or top) with a slightly larger or smaller piece of paper.
May Day is Lei Day
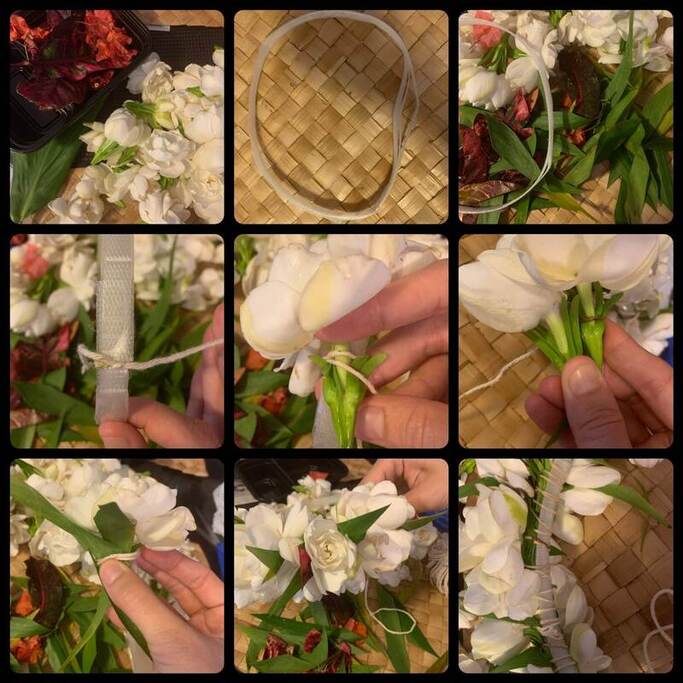
1. Gather all fresh materials. You will need a lots of flowers and greenery (ti leaf, croton leaves, etc)
2. Get your other materials. You will need something to secure your flowers to. I used a recycled packing strap from a box. You could also use rafia braided together. You want the base to be about 1/2 inch wide. Measure your head with the band to create a circle. Over lap any extra and secure in place with tape or staples. The circle should fit nicely on the top of your head without falling down.
You will also need string. I used a cotton yarn. You can use flat plastic ribbon or strips of rafia too.
You will need to measure your head and make the
3. Clean, prepare and cut your flowers and materials. Cut the ti leaf and other greenery in long parallelogram shapes, about 4 inches long. They don't need to be exact.
4. Start working! Start by tying the string to the base. Leave a little tail for you to tie off at the end.
5. Place your first flower on the base and wrap the string around. Wrap tightly so the flower will not fall out...but not too tightly because you don't want to break the flower. If you feel the flower is loose, tighten the wrap, and you can also wrap it again.
6. Continue working around the band. So the flowers do not get to bulky, lay the flowers next to each other on the band (not on top of each other) and wrap. Add greenery as you like. You can add it with every flower or every other flower, or every four flowers. You can make your own pattern.
7. As you are working. Stop and check what your lei looks like every so often. If it doesn't look how you want it to- stop. Take it out and start again. Be gentle with the flowers. White flowers like gardenias bruise easily.
You can also check to see that when you wrap, the wraps should be even. This will also make sure the flowers are secure.
8. If the cord you are wrapping with gets to short. Just tie another piece on to extend.
9. When you reach all the way around the band, find the tail that you left when you started. Wrap the last flower a few extra time and work your way back over the first flower. Secure and tie off.
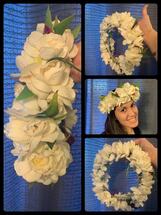
10. Place your lei on your head. Turn to find the best position. Admire your creation and wear it proudly!
Happy Lei Day!
Here are some other resources to make lei
How to Make a Lei in 3 easy steps
How to make lei
Ribbon Lei
2. Get your other materials. You will need something to secure your flowers to. I used a recycled packing strap from a box. You could also use rafia braided together. You want the base to be about 1/2 inch wide. Measure your head with the band to create a circle. Over lap any extra and secure in place with tape or staples. The circle should fit nicely on the top of your head without falling down.
You will also need string. I used a cotton yarn. You can use flat plastic ribbon or strips of rafia too.
You will need to measure your head and make the
3. Clean, prepare and cut your flowers and materials. Cut the ti leaf and other greenery in long parallelogram shapes, about 4 inches long. They don't need to be exact.
4. Start working! Start by tying the string to the base. Leave a little tail for you to tie off at the end.
5. Place your first flower on the base and wrap the string around. Wrap tightly so the flower will not fall out...but not too tightly because you don't want to break the flower. If you feel the flower is loose, tighten the wrap, and you can also wrap it again.
6. Continue working around the band. So the flowers do not get to bulky, lay the flowers next to each other on the band (not on top of each other) and wrap. Add greenery as you like. You can add it with every flower or every other flower, or every four flowers. You can make your own pattern.
7. As you are working. Stop and check what your lei looks like every so often. If it doesn't look how you want it to- stop. Take it out and start again. Be gentle with the flowers. White flowers like gardenias bruise easily.
You can also check to see that when you wrap, the wraps should be even. This will also make sure the flowers are secure.
8. If the cord you are wrapping with gets to short. Just tie another piece on to extend.
9. When you reach all the way around the band, find the tail that you left when you started. Wrap the last flower a few extra time and work your way back over the first flower. Secure and tie off.
10. Place your lei on your head. Turn to find the best position. Admire your creation and wear it proudly!
Happy Lei Day!
Here are some other resources to make lei
How to Make a Lei in 3 easy steps
How to make lei
Ribbon Lei
Online Exploring!
Have you explored the Bishop Museum Learning Center Website lately?
They have read-aloud books, worksheets and videos for you to explore!
Visit their Planetarium Activity site to download a constellation creation worksheet. Create your own constellation and a story to go along with it. Also download the Hawaii Sky at Night worksheet and take it outside to explore the constellation in our night sky.
You can also take a look at their science activities and learn more about voyaging to Hawaii, or explore culture and history activities.
Have fun and enjoy this resources that will use your home and backyard to inspire and engage you.
Go on a Safari! (Virtually)
Although we are stuck at home, the wild animals are still out and about. Follow and watch a live safari at 6pm our time. Check out the link here.
Interested in Museums, Theme Parks or Zoos..check out this article for links to other attractions.
Although we are stuck at home, the wild animals are still out and about. Follow and watch a live safari at 6pm our time. Check out the link here.
Interested in Museums, Theme Parks or Zoos..check out this article for links to other attractions.
Now is the perfect time to grow your own food! Start a bottle garden on your balcony, window sill or back porch. Re-use an empty plastic bottle and make it into a self-watering container for your garden!
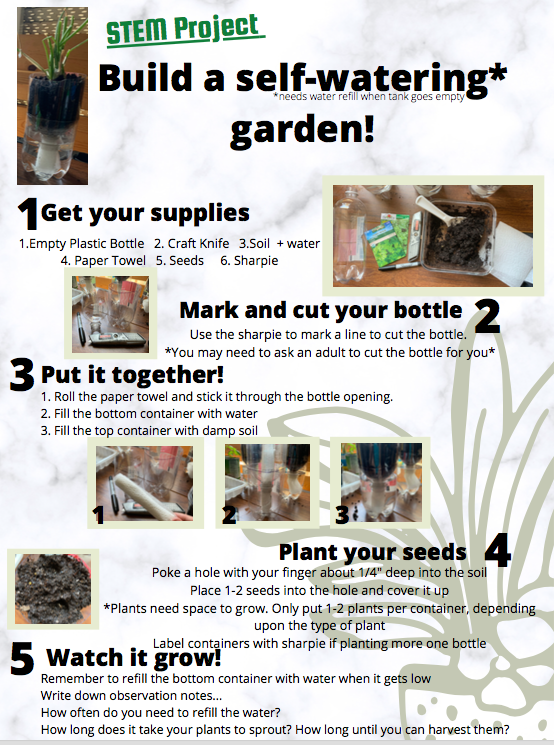
Print the file below to document your observations and have fun growing your own food :)
If you build this project and want to share. Snap a picture and email it to Ms. Wichman @ [email protected]
If you build this project and want to share. Snap a picture and email it to Ms. Wichman @ [email protected]
| stem_project.pdf |